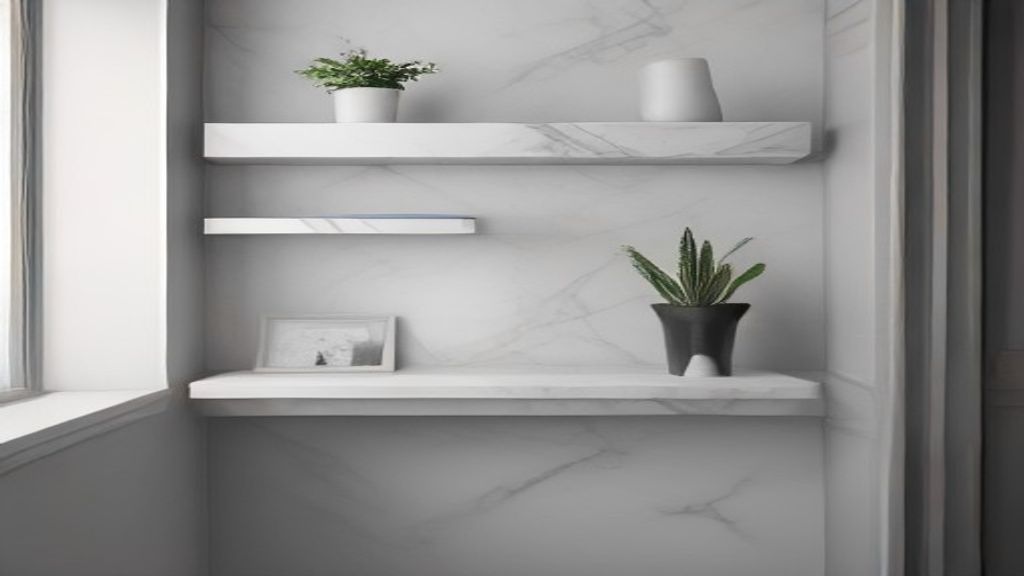
I ordered a marble wall shelf and spent two weeks mopping up dust and regret because I didn't check whether the 'marble' was real or a printed veneer. The first week is mostly about holding the box and asking yourself: did I just buy a slab or a sticker? Here's what to sort before you mark a single screw hole.
Check the Back of the Box Before You Open It
Most budget marble wall shelves are not marble. They're MDF with a marble-printed face or a thin veneer. That's fine if you know going in, but the back of the shelf will tell you. I peeled off the corner of the protective film and saw a wood grain that had nothing to do with stone. The face looked great. The edges? Light catching the corner was the giveaway. If the edge is wood-colored, you're not getting marble.
The One Decision: Wall Type vs Shelf Weight
That's the one that matters. A 24-inch shelf made of real stone can weigh 15–20 lbs. Faux marble might be 5 lbs. Your wall determines what you need. I live in a 1980s condo with drywall over metal studs. My first shelf came with plastic anchors that were useless. I switched to toggle bolts for drywall. If I'd hit a stud, I'd have used wood screws. If you have plaster, get a masonry bit and a lead anchor. It took me two trips to the hardware store and an hour of staring at a stud finder.
Mark Your Studs Before You Drill — Twice
The stud finder gave me a weak signal because of conduit behind the wall. I marked the spot, drilled, and the screw stripped out. That happened on a Tuesday. On Friday I tried again with the same shelf, but I used a magnet to find the drywall screws first. That worked. The magnet showed where the stud was because the screw holes were painted over. Took me 20 minutes instead of a weekend.
The 10 PM Test: Does It Rattle?
After hanging the shelf, I put a glass jar of rice on it to test for vibration. Nothing at 10 PM — no rattling, no creaking. Then I loaded it with 8 lbs of books. The shelf is 12 inches deep, so I kept the center of gravity over the wall bracket. If your shelf has open ends, the edge can flex. Mine didn't, but I could feel the difference between a 5-lb and 16-lb load.
What I'd Change If I Did It Again
I'd measure the wall thickness before buying anchors. Mine was 1/2-inch drywall — standard. But my neighbor has 5/8-inch drywall and standard toggle bolts don't grip as well. If you have 5/8-inch, you need a longer toggle or a molly bolt. Also, check the bracket itself. Some cheap ones are a flat strip of metal — they sag under weight. I'd pick a shelf with a visible L-bracket or one that mounts to a French cleat. The one I got looks good, but I'd have felt safer with a cleat.
One Concrete Next Step
Before you drill, run your finger along the shelf's bottom edge. If you feel a seam or see a wood edge, it's not marble. Then put the shelf on a kitchen scale and look up the drywall anchor load rating — not the 'max 50 lbs' number on the box, but the actual rating for your wall type. Do that, and the first week won't be about dust. It'll be about putting your coffee mug on the shelf and walking away.
More guides in Shelving if you're going down this path. If you want a lighter option, see what IKEA LACK Shelf: 7 Inches Deep and the Constraint That Decides actually means. For a cheap alternative, Mid Century Wall Shelf: What $60 Gets You vs $300 has measurements you'll use. And if you had a stud-finder moment like mine, Thin Shelf Setup Week: Measure Your Wall Studs First validates the struggle.