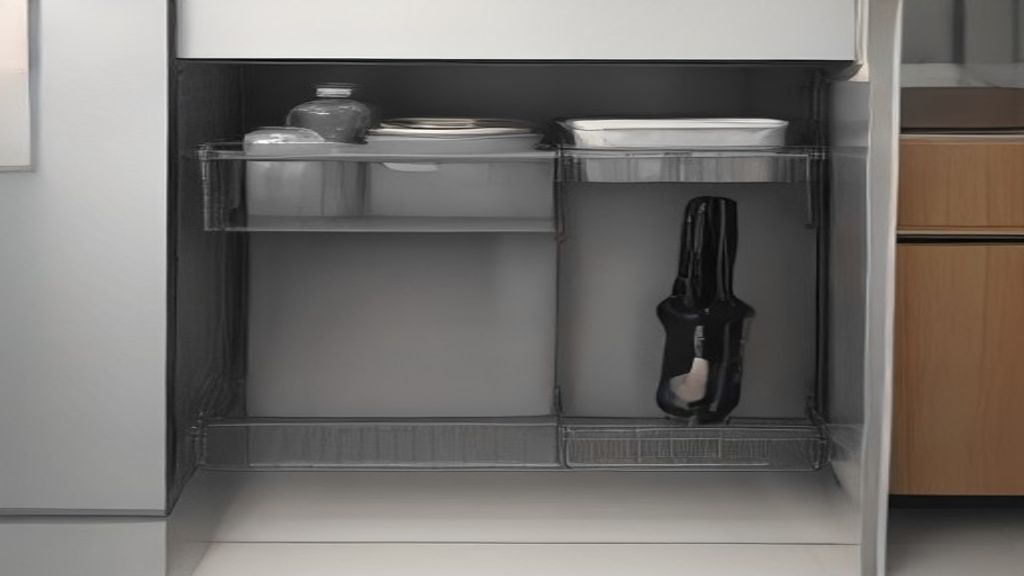
My first kitchen storage rack was a $40 wire shelf from a big box store. It lasted six weeks before the chrome started flaking and the lower shelf sagged under a bag of potatoes. Not a catastrophic collapse, just a permanent lean that made everything slide toward the wall. I was annoyed, but I also blamed myself. Maybe I over-loaded it. Which is what a $90 rack fixed — for a while.
The $90 one looked like a proper unit: thicker wires, claimed 100 lbs per shelf. I loaded it with canned goods and a heavy Dutch oven. Three months in, one of the plastic connectors cracked. Not the shelf itself — the little clip that holds it to the upright. Support bracket snapped under the weight. I didn't notice until a jar of pickles hit the tile at 7 AM. Lesson learned about load ratings and cheap plastic parts.
So I went to $180. A restaurant-style shelving unit, the kind you see in pro kitchens — stainless steel, welded uprights, weights rated per shelf around you don't even want me to go there. I measured my kitchen corner before buying, which I didn't do for the first two. The difference isn't just materials. It's how the load actually gets to the floor.
The obvious differences: materials, weight, assembly
The $40 rack: chrome wire (not stainless, despite the label), plastic sleeves on the legs, literal little caps. Feels light — you could lift it with two fingers. Assembly? Snap-together, no tools, about ten minutes. But those plastic connectors are like the ones that cracked on my $90 rack. They can't take shear forces forever.
The $90 rack: also steel wire, but epoxy coated instead of chrome, thicker tubes at the corners, and an extra brace at the back. Holds a bit more per shelf, but still uses those same plastic c-clips. Assembly tool-free but took longer to align. I'd say twenty minutes and a stubborn attitude.
The $180 rack: fully stainless steel, heavier gauge tubing — I measured the outer diameter with calipers: 1” corner posts vs ¾” on the cheaper ones. Welded cross-braces, and the shelf wires are spaced tighter, so small items don't drop through. Assembly? The worst part. Takes two people and about an hour, every shelf has four nuts and lock washers, and if you drop a nut you have to pick it up — it wasn't magnetic? Actually, stainless bolts aren't magnetic, and the flats of my workshop floor made things annoying. Not exactly an evening of fun, but once it's up, it's not moving.
The real test: my kitchen floor, nine months along
I don't just store dry goods. I've got a stand mixer (about 25 lbs), a cast-iron Dutch oven (like 12 lbs empty), a stack of cutting boards, a jar of flour that weighs 20 lbs. The $90 rack held most of that, but at the spot where I put the mixer, the shelf surface developed a noticeable bend over time. The $180 rack's shelf is still dead flat, even where I've loaded more.
I also have this habit of pulling things from the middle, not the edge. The $40 and $90 racks both wobbled if I didn't load them perfectly symmetrical. Not dangerously, but enough to make me paranoid about dishes. The $180 rack? No lateral wiggle at all. I've actually put a heavy item on one side and then yanked from the other — sold as a "tip-resist" feature but it's engineered in the base.
The price gap isn't just materials — it's what's not on the box
What the $180 gets you that the $40 can't even promise:
- Real stainless steel. The $40 is chrome-plated carbon steel, and the first chip means rust. In a kitchen that's humid (steam from pasta, a leaking tap), rust shows up in weeks.
- Weld quality. The cheap ones are spot-welded at the point joints. The expensive one is fully welded seams — no gaps for moisture to get in.
- A leveling feature. The $180 has adjustable feet on each leg, so I can compensate for an uneven floor. The $40? You jam a folded cardboard under the leg.
- Load rating that's honest. The $40 claimed 100 lbs per shelf, but it mostly meant the total, spread evenly, with everything touching. The $180 rates the shelf at 200 lbs evenly, and I've loaded it unevenly and it still doesn't care.
But the $180 is overkill if you only store paper towels
Yeah. If your kitchen rack holds a few cereals and a toaster, the $40 is fine. More than fine — maybe that's all you need. The problem is that nobody plans for the oversized bags of potatoes, the spare pasta maker, the stack of Tupperware you drag out once a month. In my case, the extra $140 paid for not starting my day with glass shattering and a damp cardboard shim.
There's also the space difference. The heavier gauge means the shelf is actually deeper — not because the rack is wider, but the rail geometry takes up a little more room in the aisle. In my corner it's a non-issue. In a narrow nook, that 1” could be the difference between passing through and back-ache.
An even better move: measure your floor before you care about price
I got burned twice in a row, so before the $180 purchase I actually measured the empty corner: floor lip at the wall edge (about 1 inch rise), the width between counter edges, and the diagonal path from the doorway to the back of the nook. Turned out it was 26” wide just above the toe-kick, but the shelf I wanted was 27” deep. Forced me to buy a 24” deep unit — one extra inch would've scraped along the counter all day.
A guy on a renter forum said he returned three racks because he didn't check the ceiling height for a tiered unit in a basement. So, yeah.
The only other thing I'd change: casters
Those rolling kitchen carts — the ones with wheels on the bottom — are convenient if your floor is dead flat and you remember not to roll heavy loads over cables. But I'd rather spend $10 extra for the base with two locking casters and two legs? If not, skip the wheels entirely; they just introduce wobble on old linoleum like mine.
What I'd do differently next time
After nine months, I'd still buy the $180. That's not a flex: in my house, that rack is the structural back of the kitchen. And the reason I keep it is the cheap ones didn't survive.
If you need a rack today and want today's price, pick a mid-range $90 unit — but only if it has metal-to-metal connectors, not plastic tabs, and epoxy-coated wire that won't bubble. Check the manufacturer's photos for reinforcement where shelves meet the posts.
Then measure your space. 29 minutes of effort now saves you a return trip.
Your next step
Decide what can go on the bottom shelf. That's heavy — like a bag of potatoes or a stand mixer. Those should stay low so the whole unit doesn't tip when you pull a 30-lb bag out. And always load the shelves from bottom to top. Gravity isn't fake.
Related reads from the kitchen and beyond:
- Wire Storage Shelves: What I Learned After Spending $40, $90, and $180
- Under-Sink Storage: Why the Stuff Bag Wins Over Shelf Units
- More guides in Shelving