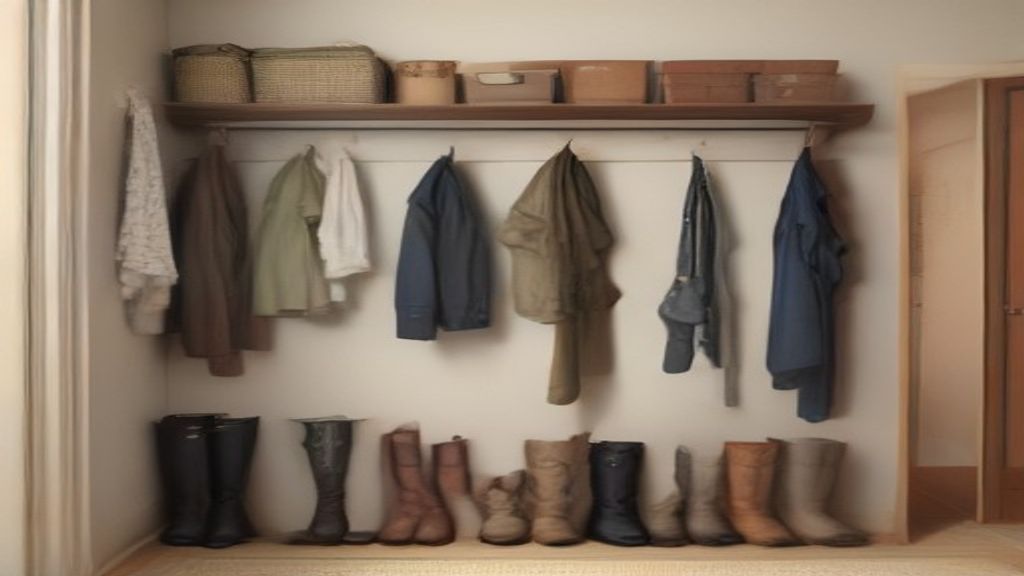
First attempt with a wall hanging shoe rack ended with three shelves of cheap pine on the floor at 2 a.m. I'd used drywall anchors rated for 50 pounds, but the rack was 20 inches deep and I loaded it with work boots. The anchors pulled straight out. Drywall gives way over time, not all at once.
The fix wasn't a beefier anchor—it was finding the studs and mounting the rack onto solid wood. Also, I stopped buying racks that demanded 12 inches of clearance when my hallway is 34 inches wide. If I swung a door open, I'd have whacked my knuckles.
What I Learned About Wall Real Estate
Before ordering anything, I measured the wall space I actually had—not the spot in the catalog photo. I traced the outline of each shoe on paper and taped it to the wall. For a pair of boots, I needed 12 inches of depth and 11 inches of height per shelf. For sneakers on their side, 7 by 10. That exercise kept me from buying racks that looked great online but would have held half my shoes.
Also, you need at least 4 inches between the rack and any door frame or corner, because you'll want to slide shoes in without scraping the wall. And check the swing of the door—a shoe rack behind a door that doesn't fully open is a storage trap.
The Stud Mounting Reality
I'm not a carpenter, and I've learned that wall hanging shoe racks need to be secured into studs, not just drywall. So I bought a stud finder (the $20 magnetic kind) and marked the center of each stud. Most racks have keyhole slots or mounting holes spaced 16 or 24 inches apart, but not always. I found one that wanted holes 12.5 inches apart, and that didn't line up with anything in my wall. I had to return it and pick a model with adjustable slots.
Also, don't trust the "no stud finder needed" gimmick. Those racks either rely on heavy-duty anchors (which still fail eventually) or they're meant for lightweight shoes only. If you're hanging a shoe rack and you have actual shoes, mount into studs.
Considering Depth and Weight Capacity
My hallway is 36 inches wide, and I grabbed a rack that was 12 inches deep. It stuck out too much, and I kept bumping into it. I swapped to a shallower model at 9 inches, which still fits my low-top sneakers and flat sandals. For my knee-high boots, I ended up with a shelf that's 11 inches deep, but that's a different rack in the closet.
The weight rating is also a trap. Most wall hanging shoe racks claim to hold 100 pounds. That's with the weight spread evenly across all shelves. But if you actually put heavy boots on the top shelf, the screws are doing all the work at the top. I've seen a rack hold up just fine until someone leans on it. Consider where the weight concentrates. My rule of thumb now: sheets, blazers, and belts on the bottom shelf, boots & heels on the middle, and flats on top. The heaviest items sit right at the studs.
The Model That Finally Worked
After three returns, I got a wall hanging shoe rack that's basically three solid pine shelves with a steel frame, 9.5 inches deep, and it comes with mounting brackets that adjust across 16 to 24 inches. It cost more than the first one, but no more drywall craters.
Assembly was actually easy—took me 20 minutes. The rack has plastic tabs you snap into the frame, and the shelves slide in. The second time I hung it, I found the studs with a magnetic stud finder and used the slotted holes to secure it into two studs. The bottom screws I used 75-pound drywall anchors because I didn't want the bottom edge to flex out. It's been six months and it hasn't budged, even with a 40-pound load of shoes.
Not perfect though. The hooks that come with it are wobbly—I use them for light jackets. And the shelves have gaps at the back, so small items like flip-flops can slip through. I solved that by laying a piece of cardboard on each shelf. Not pretty, but functional.
Measure Twice, Mount Once
The lesson? Measure your wall, find the studs, and pick a rack that lets you actually adjust the screws. Don't buy based on an Instagram photo. Step one: take a tape measure and run it across the wall where you intend to mount the rack. Note the stud locations and the width. Then start shopping.
If the rack doesn't have slotted or adjustable mounting holes, skip it. Get a stud finder (it's cheaper than buying a new wall), and check the depth of the rack against the aisle or doorway you need to keep clear. You'll save yourself a 2 a.m. floor disaster.