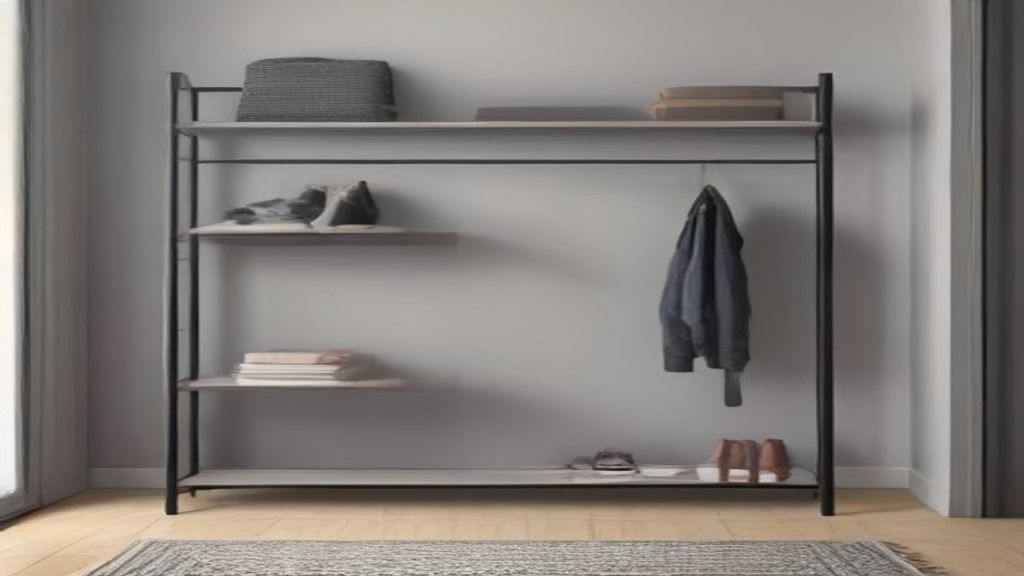
Unboxed my grey shoe rack on a Tuesday. By Friday I was ready to toss it. The color was right, the price was fine, but the whole thing was useless because I'd missed one measurement during setup. Here's what happened and what you should check first if you're staring at a similar stack of boards and metal.
I'd ordered a three-tier grey metal rack, about 30 inches wide. Looked perfect in the listing. The photo showed a neat row of sneakers on each shelf. In real life, my boots and heels didn't squeeze onto those shelves. The first shelf was 6.5 inches high. My work boots needed 8. My partner's ankle boots were 7. So two of the three rows were wasted on flat shoes, and the rest tumbled over when I pulled out a pair.
That's the one decision that matters more than anything: shelf height clearance. Not the overall width, not the material, not the color. If the vertical spacing doesn't match your shoe stack, the rack is just a dust collector.
I almost stuck with it, thinking I'd just stand the boots on top or skip a row. But that defeats the purpose. So I spent an hour measuring every shoe we owned. Tallest pair: 8.5 inches. Shortest: 3.5 inches. Then I looked for a rack where I could adjust the shelves or at least one where the fixed heights were taller than 8.5 inches.
If you're fixing your first week with a grey shoe rack, don't assemble first. Measure first. Stack the shoes you actually wear in pairs, grab a tape measure, and write down the height of the tallest pair. That number dictates everything.
Also measure the depth. My hallway is narrow, so a 13-inch-deep rack would've blocked the door. I needed 11 inches max. I'd been looking at photos and specs online for an hour, but a piece of cardboard cut to size would've told me in five minutes if it fit.
I ended up swapping the rack for an adjustable one. Took about twenty minutes to set up once I knew my sizes. Same grey finish, but now the shelves are 9.5, 7, and 4.5 inches — top for boots, middle for sneakers, bottom for flats. Everything has a spot, no leaning pyramid of footwear.
The first week setup isn't about the brand or the color. It's about shelf height, depth, and what you're actually putting on them. If you haven't bought yet, measure your shoes and your entryway before you look at anything online. If the rack's already sitting in your hallway, take it apart and check if you can rearrange the shelves. If not, return it and get one where you can.
Related reads:
- Wall Hanging Shoe Rack: I Measured the Wrong Wall Twice and Cured My
- I Bought a Shoe Rack Cupboard and It Didn't Fit My Boots
- Adjustable Shoe Rack: What Fits Your Hallway, Not the Catalog
- Steel Shoe Rack — Measure This Before You Click Buy
- Wayfair Shoe Rack: What $40 vs $120 Actually Buys You
Your move: measure your tallest pair of shoes and the floor space where the rack will sit. Write those two numbers on a sticky note before you assemble or buy. That's the step I wish I'd done first.