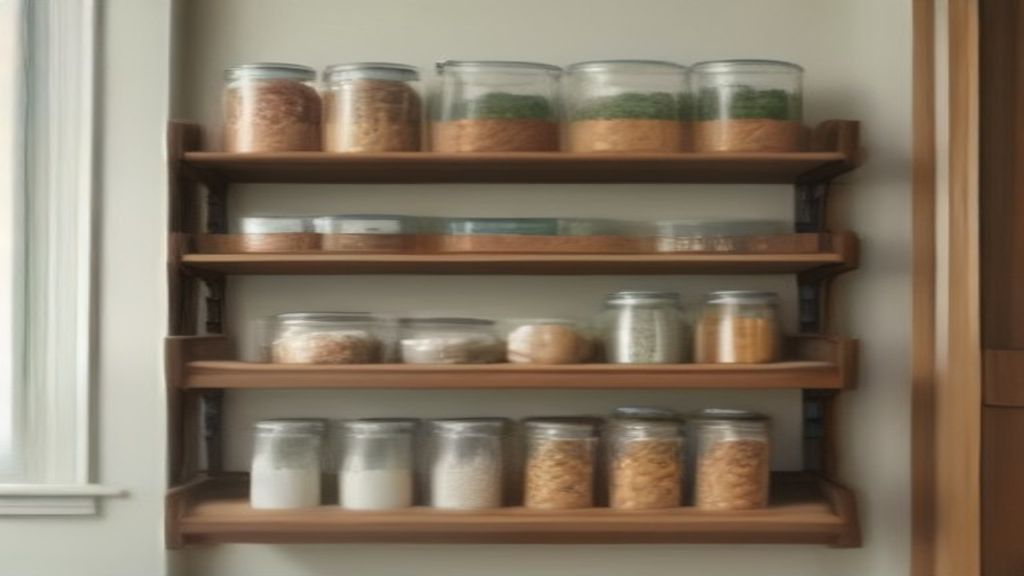
I bought a shelf organizer last Tuesday, and by Friday I was ready to return it. The listing said "heavy-duty" and showed a kitchen that looked like a magazine spread. My kitchen is not that. My kitchen has a toddler who throws sippy cups, and a husband who stacks cans like he's playing Jenga.
The box arrived, I assembled it in 20 minutes, and it looked fine. Then I loaded it with canned tomatoes, a 10-pound bag of rice, and a ceramic pot I never use but can't throw away. By the third day, the middle shelf was bowing. Not dramatically, but enough. I measured it with a ruler: 3/8 inch of sag in the center. That's the moment I realized the one decision that matters for a shelf organizer isn't color or shape — it's weight capacity per shelf.
I didn't check that before I clicked buy. The listing said "load capacity 25 lbs per shelf," but that sounded like a lot. I didn't calculate what I actually put on it. A stack of plates is heavy. A bag of sugar is heavy. Canned goods are heavy. My "light" load was probably 30 pounds on one shelf, and the metal brackets were holding but the shelf board itself was bending.
So I tore it apart and did the work. I recalibrated: the maximum per shelf for this unit is 25 pounds. I decided that's the number I live by, and I started weighing things. A full jar of sauce is about 1.5 pounds. A can of beans is about a pound. A standard dinner plate is about 1.2 pounds. Yeah, you can see how fast that adds up.
The fix? I stopped putting heavy stuff on the top two shelves. Now the bottom shelf takes the canned goods (about 18 pounds total), the middle has plates and bowls (maybe 12 pounds), and the top holds jars and spices (under 10 pounds). No more sag. And I bought a small kitchen scale — the kind you use for baking — so I can eyeball it better next time.
For the first week, the other decision that mattered was what I placed near the edges. I had a bottle of olive oil that kept looking like it was going to tip over. The shelf lip is only half an inch high. So I moved it to the back, wedged between a jar of lentils and a spice rack. That worked, but it proved how shallow these organizers really are.
Now, a week in, the organizer is holding, but it's not perfect. The particleboard shelves feel okay, but if I lived somewhere humid, I'd expect the laminate to peel. The plastic clips that hold the shelves in place are already a little loose — they don't snap as tight as day one. But for the price, it does the job as long as I don't exceed weight limits.
If I had to do it over, I'd pick a unit with wire mesh or solid steel shelves, not particleboard. Or I'd at least upgrade the shelves to plywood. But if you're already stuck with one, your first week should be about measuring what you actually store, not what you hope to store.
Here's the thing: I also learned a lot from my struggle with measuring shelves. Before I bought this unit, I measured the width of my space, but I didn't measure the footprint of my stuff. That's the mistake. My pantry is 24 inches deep, and this organizer is only 15 inches deep. So I lost a third of that depth, which means stuff sticks out and I can't shut the door properly. My own fault.
For the best results, the unit should be at least 3 inches shallower than your allotted space, so you have airflow and can actually pull things out. And leave a gap of 2 inches between the back and the wall, or the wall will take on condensation. That's a lesson from Under-Sink Storage: Why the Stuff Bag Wins Over Shelf Units.
What I'd tell you is this: in week one, the only thing that matters is that you know your weight per shelf and you don't exceed it. The number is on the side of the box, but you won't trust it until you see a shelf bend. I saw it, and now I obey it.
I also tried rearranging the shelves to fit taller items — like a cereal box that just wouldn't fit. That's when I realized the height adjustment is another hidden trap. The clips leave marks on the posts, and if you move a shelf too many times, the paint scrapes off. I adjusted the heights three times in one week, and now the posts look scratched. Not a dealbreaker, but it made me wish I had planned the layout the first time.
If you're about to assemble your first shelf organizer, don't follow the instructions order. First, lay out everything you intend to store — all the canned goods, boxes, bags, appliances. Measure the tallest stack and the heaviest item. Then set your shelf heights accordingly. That's the one decision that saves you from re-doing it later.
I've seen too many people buy an organizer, cram it, and watch it sag. That's why I wrote this down. For even better storage ideas, check out The 6-Inch Gap That Killed My Wall-Mounted Metal Bathroom Shelf or I Measured 12 Plastic Shelf Sets So You Don't Have To. All of them come down to the same rule: measure the weight, not the width.
So, next step: before you put another thing on that shelf, grab a kitchen scale or a postal scale. Weigh your heaviest stack. If it's over the limit, move it to the floor. Don't trust the photo. You'll be glad you did in a month.