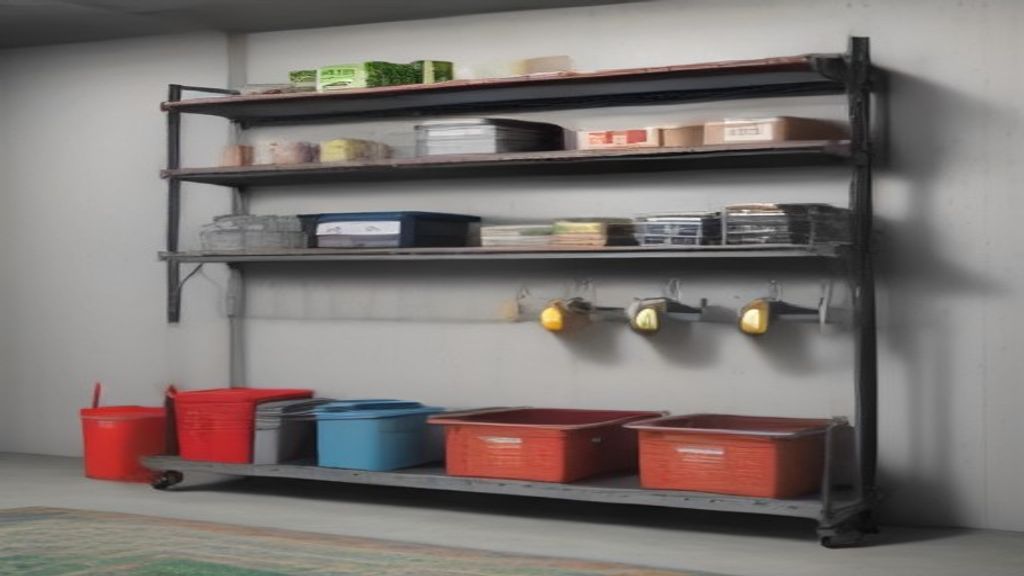
I bought a "heavy-duty" super market rack last year because the product photo looked like it could hold a small car. Got it home, slapped it together, loaded my storage bins. Three weeks later, the middle shelf bowed so bad my paint cans rolled off and dented the floor. The box said "600 lbs per shelf." The steel said otherwise.
The fix wasn't buying a more expensive rack. It was measuring the actual footprint and loading it like a realist. That's the only buying angle that matters for these things: capacity per square foot, not the marketing numbers.
What's Actually on the Box vs. What's in the Steel
Most super market racks are made from 0.7mm steel until you hit a certain price point. That's thin. Thin steel bends, especially for wide shelves without center support.
What I do now: I take the claimed load, divide it by two, and then subtract again if the shelf span is over 3 feet. A "600 lb" shelf becomes maybe 200–300 lbs of real-world safe weight.
Also check the upright gauge. Those L-posts bend like warm spaghetti if you overload a single area. I've had a bar sag so much the shelf actually slipped off the rivets.
Shelve Deep, Not High
Nothing beats the depth of a rack. I see people buying tall, skinny racks with narrow shelves. You can't store a box of tools or a set of tires on those. The spacing matters: 18-inch depth is the minimum for anything real. 24 inches if you store bins.
My favorite rack now is 48"W x 18"D x 72"H. Four shelves. It holds about the same gear as a 60" narrow rack, but I don't have to shuffle things at an angle.
Wheels Are a Trap
Those wheel kits that turn a rack into a cart? They cost $80 and add two inches to height plus a wobble factor. Unless you actually move the rack every week, skip them. Bolting the thing to the wall is cheaper and way safer.
I bought the wheels. Used them twice. Then the brakes started dragging on the floor. Now it's on castor cups and basically static.
What I'd Do Differently
The rebuild is stupid cheap if you plan for it. Spend the extra on load testing after assembly. Put your heaving stuff on the bottom shelf, the heavy bins on the middle, and the light stuff on top. Use a level. Sway happens if you don't.
And don't trust the install videos that show two people stacking a rack in three minutes. Watch how the E-braces actually fit. If the holes don't line up, the metal is off.
Before you buy, measure the doorframe. I didn't. That's a story for another day.
The fix is a tape measure and a realistic load plan. A $200 rack will hold your life if you treat it like a shelf, not a weightlifting platform.
Some racks will still fail at 12pm. That's why I check mine for rust spots after winter. If you're into more storage reality checks, check out Shop Racks That Fit Your Space: Measure the Wall, Not the Hype — I measured my garage for that one too. For the full shelving guides, More guides in Shelving has the rest.
You learn to laugh at the manual. Not funny at 2am when you're under a fallen shelf.