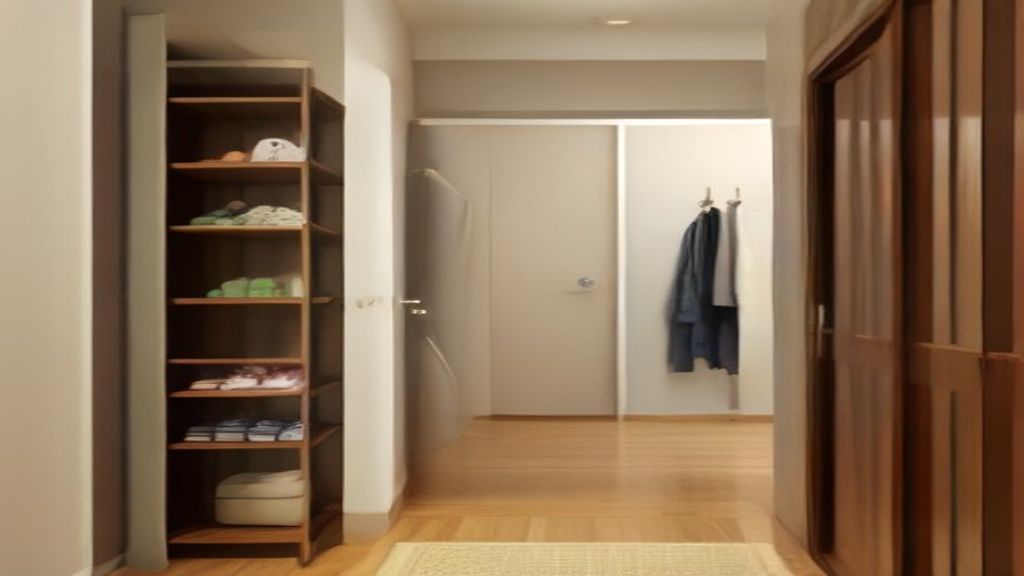
Seven inches. That's the gap between my tallest boots and the top shelf of the bamboo shoe rack I almost bought. The catalog photo made it look like it would swallow a pair of Wellies, but I measured the opening: 11.5 inches. My work boots stand 14. If I'd trusted the photo, I'd have been leaning them against the wall by day two.
First week with a bamboo rack isn't about assembly—that took 20 minutes with a wooden mallet and some patience. It's about the one decision that matters most: whether you measure the boots, not just the rack's footprint. I walked the hallway with a tape measure and realized my mistake: I'd been sizing racks by width (how many pairs per shelf) and forgetting height per tier.
The First Day: Unboxing, Assembly, and the Smell
Bamboo racks arrive as flat slabs and dowels. Overlap the brackets, tap the pins, done. But the smell—that sweet, grassy bamboo odor—hit me right away. It faded after two days near the radiator, but if you hate scent, plan for it. The instructions said "wipe with a dry cloth," which I did. Then I loaded it: sneakers, loafers, a pair of slippers. By evening, the shelves were full, and I thought, "Great, done."
The Second Day: What Didn't Fit and Why
Morning came, and I reached for my Chelsea boots. They didn't slide in. The opening between the second and third shelves was 9.5 inches; the boots measured 10.75 at the shaft. I had to stash them on the floor next to the rack, which defeated the purpose. That's when I re-measured everything, not just the width.
Turns out the vertical clearance per tier varies. Some racks list shelf spacing as "adjustable," but mine had fixed holes at 8.5, 9.5, and 11.5. So I spent the next hour rearranging: high boots on the top (where the 11.5 clearance lived), low sneakers on the bottom.
The One Decision That Saved My Hallway
After three days of shuffling, I made the call: I'd arrange by boot height, not by frequency of use. It sounds trivial, but it's the difference between a rack that holds 12 pairs and one that holds 8. I moved a pair of hiking boots to the garage shelf and kept only what fit the clearance. The rack now looks neat, but I had to cut my shoe count by a third.
If you have a single pair of tall boots (over 12 inches), check the shelf spacing before you buy. Better yet, measure your own boots at home and bring that number to the store or the spec sheet. Don't assume the photo's proportions match yours.
The First Week: What Worked, What Didn't
By day five, the rack had settled. The bamboo felt solid under a pile of 8 pairs; I stepped on the bottom shelf by accident and it didn't crack. But the finish scuffs easily—my dog's tail brushed against it once, and I can see a faint mark. Nothing a damp cloth couldn't handle, but it's not a piece you want in a high-traffic hall if you're the type to notice scratches.
The rack also shifted on the floor. The bottom edge has rubber caps, but on a hard tile floor, one cap slid off during week one. I put it back with a dab of glue and it's held so far. If you're placing it on smooth floors, check those feet.
Should You Skip This Rack?
If you've got more than two pairs of boots over 10 inches high, or you live in a house where muddy shoes get tossed on the rack without a second thought, skip bamboo. It's light (a little over 11 lbs), which is great for moving, but it doesn't stand up to heavy abuse. I've seen the same rack wobble after a year of knocks. Buy steel if you need density. See how steel held up for the comparison.
For the rest of us, a bamboo rack is fine if you measure the verticals first. I did, and now my hallway has a spot for everything—except the work boots. Those still live by the door, but that's my own fault for not counting them in the clearance.
If you're still shopping, check the shelf-height reality or the door-hanging option if floor space is tight. And don't make my mistake—measure the boot, not the rack.