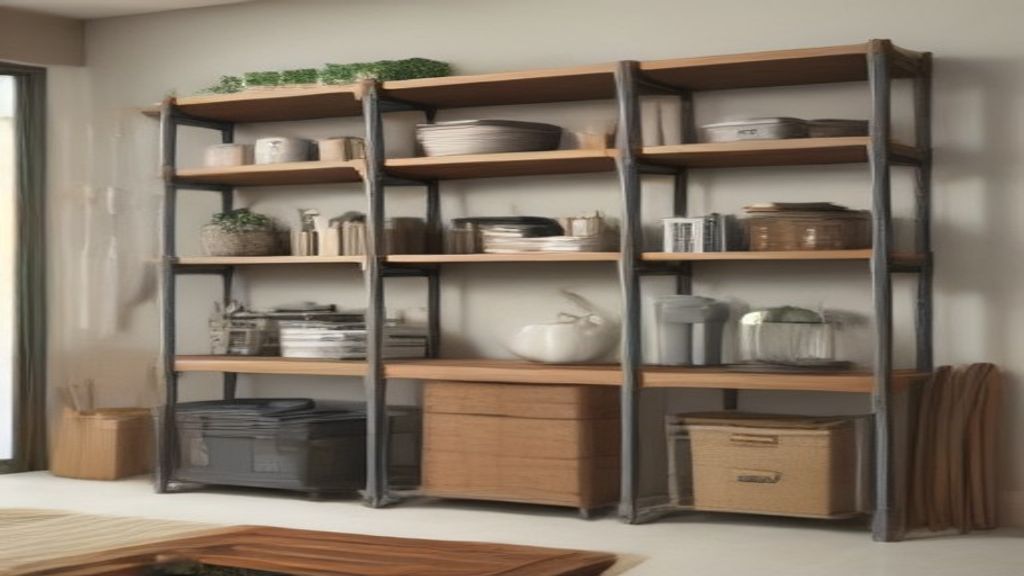
I installed my first track shelving unit in a 12-foot hallway closet three years ago. The rails cost me $38, the brackets $12 each, and the boards $48 from a local lumberyard. Total: around $150, but that was after I'd already bought the wrong brackets twice. If you're looking at track shelving now, you're probably staring at price ranges from $30 to $300 and wondering what the difference actually is. Let's break it down like I wish someone had for me.
The $30–$50 Tier: Budget Rails, Budget Reality
At this price, you're getting steel rails that are about 0.05 inches thick. They'll hold a shelf if you put light stuff on it—picture frames, folded sweaters, maybe a few books. But don't load it with canned goods or a stack of old textbooks. The brackets that come with these kits are usually 8 inches deep, and the shelf boards are often particleboard with a veneer. That's fine if you need a quick fix in a laundry room and you're not putting anything heavy on it. I used a cheap set in a garage for a year, and the rails started bowing after about six months with maybe 30 pounds per shelf. Not a catastrophic failure, but the shelves looked like a smile.
The main difference here is material thickness and weight capacity. Budget rails are rated for 50–75 pounds per bracket, but those ratings assume even distribution and perfect installation. If your wall is drywall with no studs where you need them, you'll be relying on anchors. In my experience, those anchors pull out at about 40 pounds if you accidentally bump the shelf. So budget tier works if you treat it as light-duty only.
The $60–$100 Tier: The Sweet Spot for Most Homes
This is where you start getting 0.08-inch steel rails and brackets that are 10 or 12 inches deep. Weight capacity jumps to 150–200 pounds per bracket. That's enough for a full row of hardcover books or a stack of storage bins filled with winter gear. I swapped my garage shelves to this tier after the cheap ones bent, and the difference was night and day. The rails feel solid when you tap them, and the brackets lock into the slots without any wobble.
Installation is still DIY, but you'll want to find the studs—which honestly you should do at any price point. At $80 for a starter kit (rails, brackets, and shelves), you're getting real value. The shelves are often solid wood or a thicker MDF with a laminate that doesn't flake off. I've had mine for two years now, and they still look good, even after I spilled a bottle of motor oil on one shelf (wiped right up).
One thing to watch: at this tier, some brands sell the rails and brackets separately from the shelves, and the shelves are where they make their margin. I paid $15 per 36-inch shelf, which adds up if you need four or five. But you can save money by cutting your own boards—a standard 1x12 pine board from the lumberyard works perfectly. Just sand the edges and apply a coat of polyurethane to keep them from staining.
The $150–$300 Tier: Commercial-Grade or Designer Looks
At the top tier, you're either paying for a brand name (like ClosetMaid's higher-end lines) or for a specific aesthetic. Commercial-grade track shelving uses steel that's 0.1 inches thick or more, and the brackets are often welded for extra strength. I've seen these hold 300 pounds per bracket without a hint of flex. That's what you need for heavy shop equipment or a garage full of tools. But unless you're storing metal parts or full cans of paint, you're paying for capacity you'll never use.
The other reason to go premium is aesthetics. Some systems use aluminum rails with a brushed finish and wooden shelves with a clear coat—they look like something from a designer closet, not a utility shelf. I installed a set in a client's living room for books and plants, and it looked great. The rails are slim and barely noticeable, and the shelves float without visible brackets from the front.
But here's the catch: at this price, you're often buying a complete system that locks you into proprietary brackets and shelves. If you lose a bracket or want a different shelf depth, you're paying $20 for a single replacement bracket. And installation is still the same—you're drilling into studs like you would with the $60 set. The only real advantage is the weight capacity and the look.
What Actually Matters: Studs, Depth, and Spacing
Before you spend a dime, measure your wall. Track shelving needs studs every 16 inches on center—if you have 24-inch spacing, you'll need to adjust bracket placement accordingly. The depth of the shelf matters more than the price: a 12-inch-deep shelf holds way more than an 8-inch one, even if the bracket is rated higher. I learned this the hard way when I put 8-inch shelves in a pantry and couldn't fit cereal boxes.
Spacing between shelves is another thing people forget. If you're storing binders, you need at least 12 inches between shelves. For wine bottles, 14 inches. For a stack of jeans, 10 inches is fine. I usually set shelves at 11-inch intervals, which works for most stuff, but I still had to adjust one shelf to fit a stand mixer.
And don't skip the stud finder. I know it's tempting to use wall anchors if the studs don't line up, but that's how you end up with a shelf on the floor at 2 AM. I had a shelf full of canning jars come down once—lost six jars of pickles. No fun.
The Real Cost Breakdown
Here's a rough example of what you'll pay for a 6-foot-wide, 4-shelf setup:
- Budget tier: $40 (kit) + $10 (extra anchors) = $50. Holds light stuff only, and you may be replacing it in a year.
- Mid tier: $80 (rails and brackets) + $60 (four 36-inch shelves) = $140. Holds a lot, looks fine, lasts years.
- Premium tier: $200 (complete system) + $30 (shipping) = $230. Holds everything, looks great, but you're paying for looks and capacity you might not need.
If you're just organizing a closet or a pantry, the mid tier is the sweet spot. If you're storing heavy tools or you want a furniture-quality finish, go premium. But avoid the budget tier unless it's a temporary solution.
My One Concrete Next Step
Grab a tape measure and a stud finder, and measure your wall. Write down the width and height you have to work with, and then look at the mid-tier options. That's what I'd do if I were starting over. And if you want to see how other shelving approaches compare, check out our Home Depot Garage Shelving: One Angle to Buy Right the First Time or I Bought a Grey Shelving Unit Without Measuring the Frame — Here's. They'll save you the same headaches I had.