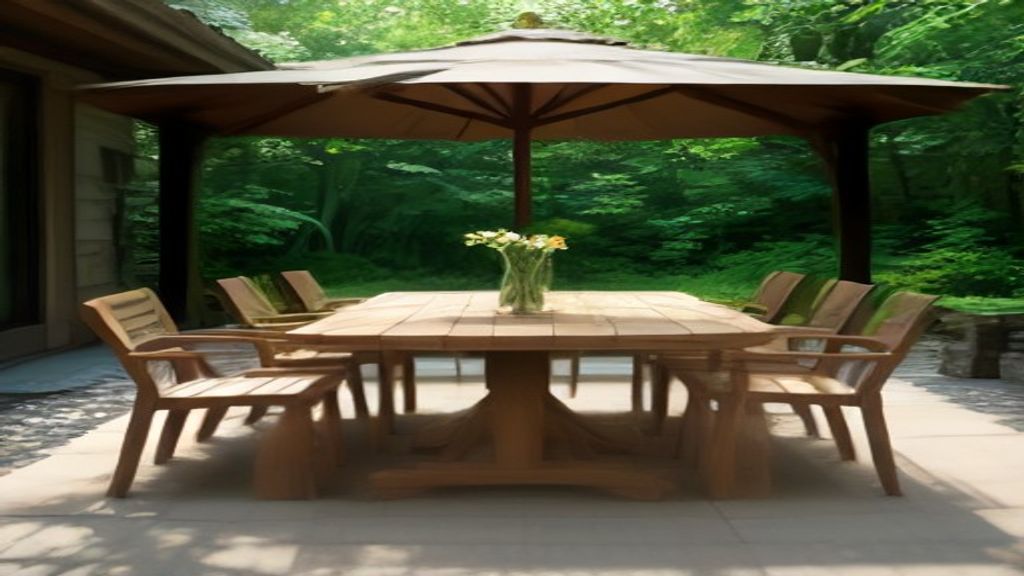
You've just unboxed it, or maybe the delivery guys left a 150-pound crate in the driveway. The first week with an outdoor wood dining table is not a time for admiring the grain. It's a time for decisions—especially one that will determine whether this table lasts five summers or starts wobbling by August.
The One Decision: The Finish Isn't Optional
I've been through three outdoor wood tables. The one thing I'd tell my past self: the factory finish is not your finish. Teak, acacia, eucalyptus—doesn't matter. The oil or sealant they spray on in the factory is thin and not meant for real weather. You have one week, more or less, to decide how you're going to protect the wood.
Why does it matter? Unprotected wood dries, cracks, and turns gray. In a week, you might not see it, but in a year you'll see splits along the board ends and a rough surface that splinters.
What I Did in the First Three Days
Day one: I let the table sit in the sun for a day. I live in a place where afternoon UV is brutal, and I wanted to see if the wood moved. After a day in direct sun, I checked for any visible gaps at the joints or if the top felt like it was bowing in the middle. If you lay a straight edge across the top and see daylight under it by 1/8 inch or more, you've got a warping board. Return it then—don't wait.
Day two: I measured the tabletop width at three points (ends and middle). Wood moves across the grain, not along it, so a difference of ¼ inch between the ends and the middle is normal if it's humid. But if the middle is higher by a lot, that's a problem.
Day three: I applied a proper outdoor wood finish. I used a penetrating oil—teak oil for a teak table, marine-grade for acacia. I didn't want a film-forming varnish because it will peel and you'll be scraping it off in a year. The oil soaks in. I put on two coats, letting the first dry for 24 hours. That's the non-negotiable step. Skip it and your table will outlast the finish, but you'll be sanding and refinishing every spring.
Week One: What Else to Watch
- Wobble: Put the table on the patio. Press on a corner. If it rocks more than 1/8 inch, check the leg bolts. Often they're just loose. But if the legs are glued or the frame is warped, you'll need to shim it or return it.
- Joints: Look at how the legs attach. Cheap tables use screws into end grain. Even with brackets, that's weaker than mortise-and-tenon or a full skirt. In the first week, sit on the table edge (gently). If you hear creaking, it's not going to age well.
- Hardware: Bag of extra bolts? If not, go buy some. After a year of thermal cycling, bolts loosen. I learned that when a leg decided to fold on a hot afternoon. Better to have spares.
The Rot Problem: It Starts at the Feet
Outdoor wood dining tables get wet, and water pools on the underside of the tabletop and at the feet. In the first week, I flip the table (or at least look underneath). If the underside isn't sealed, water will be absorbed, and that's where rot starts. Apply sealer to the bottom if you can. I did that on my current table. Others didn't.
Feet sit on concrete or wood decking. They trap moisture. Use plastic or rubber pads to keep the feet off the wet surface. A table that sits in a puddle will start to rot at the base before you notice any other signs. My neighbor's table looked fine for a year; then the leg broke above the foot.
Does Size Matter? Yes, But Not for Setup
Setup is the same whether you go for a 42-inch round or an 8-seat rectangle. But the first week is when you realize the size choice has consequences. I have a 6-foot table now. It seats six dry, but in rain, I drag it under an eave because the top is too long to fit under my standard patio umbrella. If I'd bought a 5-foot round, I wouldn't have that problem.
The size also affects delivery and moving it into place. My 6-foot table took three people to move. A round table for four can be flipped over by one person if you're strong. That first week, you're moving it around to find the right spot. Think about that.
Week One Rules to Live By
- Don't cover it for the first week. I covered mine with a tarp because rain was forecast, but the tarp trapped moisture and the finish didn't cure. The next day I saw blotches. Let the finish breathe.
- Don't let a heavy vase or grill sit on the top all week. The wood is still adjusting and may indent more than it would later.
- Check the legs after 7 days. After rain and sun, the wood will move. Re-tighten every screw you can reach is optional, but check.
If you haven't picked a table yet, I found that pricing matters more than the material. My [outdoor wood dining table price reality] was surprising. And if you're also considering a marble top, [marble tables have their own issues].
Next Step: Refinish in a Month
The first week is about watching, not permanent fixes. But here's what I'd do next: set a calendar reminder in four weeks. Then apply a second coat of your protective oil. That will seal any tiny checks that developed as the wood settled. It takes twenty minutes and gives you a year of table that doesn't look gray.
A little maintenance upfront is the difference between a table that looks new after a season and one that looks like a pallet. Go grab the oil and make the call today. Take the table's dimensions and go shopping if the table isn't out of the box yet—you have time to order it before it arrives.