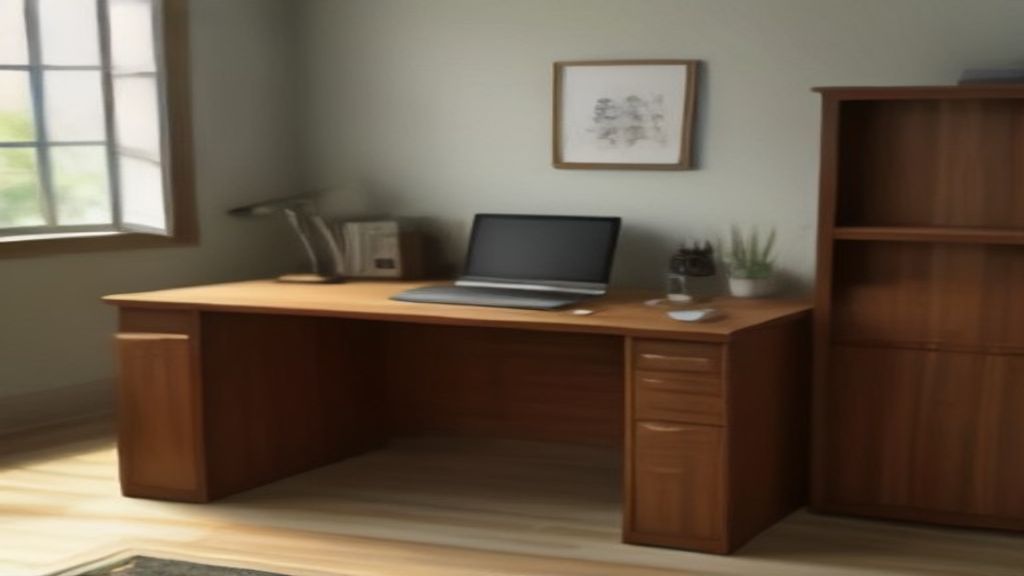
You unboxed it. You're staring at a slab of wood. The slats are stuck. The instructions are a folded paper with a diagram that looks like a bad IKEA rip-off. Deep breath. Week one can go smooth if you do two things: level it, and align the slats. Miss the second one, and you'll be fighting that tambour door for years.
Level the Thing First
I know, you want to open it. But skip the level and you'll get a desk that rocks, a roll top that won't close straight, and a drawer that rubs. My floor's off by a quarter-inch. That's enough to make the whole desk feel crooked.
Get a spirit level. If it's off, use the leveling feet. Most roll tops have them. If yours doesn't, you're about to be one of those people with cardboard wedges under the legs. Been there. Cardboard works but looks like a dorm room fix.
Set the level, get it perfect, then tighten. Ten minutes of boring leveling saves you a month of weird wobbles.
The One Decision That Matters More Than Everything
You get to choose where you put your ass. And that's the decision.
This desk is tall. Mine is 30 inches from the floor to the writing surface. Fine if you're 5'10". Not fine if you're 5'4" and I'm not. I dropped it on a floor without thinking, and now my arms are an inch too high. My shoulders are bunched up like a boxing pose after typing for an hour.
Figure out your chair height first. Adjust it when your feet are flat, thighs level, elbows at 90 degrees. Then sit at the desk and see if the surface hits your elbow height. If not, you're going to need a footrest, a higher chair, or a custom platform. That's the one decision that matters. Get it wrong and you'll hate this desk even though the wood is gorgeous.
Align the Slats Before You Load It
My roll top was stiff for the first two days. Then I noticed it wasn't even. The slats were catching on the metal rails, right where the curve starts. I had to wax the tracks, which is normal. But the bigger issue: the slats weren't seated in the side channel. They were slightly tilted.
Here's the fix: tilt the desk onto its back (get a buddy, don't be a hero). Look at the bottom of the tambour door. You'll see small plastic guides. Make sure they sit in the channel on both sides. Close and open it a few times. Pull it down gently if it sticks.
If your desk has the wooden slats glued to a canvas backing, you can't fix a busted canvas. You can only treat it soft. Don't force the roll top. If it's catching, read the instructions again or call the manufacturer. But most of the time it's just misalignment.
The Build Takes Longer Than You Think
Count on an hour. Not twenty minutes. My base was solid, but the heavy top panel required two people. And the screws for the grommet holes were a pain. If you're short on patience, maybe hire a handyman. But honestly, it's one Saturday morning. Coffee helps.
What to Put in Those Pigeonholes
You'll get a row of little cubbies up top. Everyone stuffs pens and sticky notes. If you do that, you've wasted your shelf space. Use them for vertical storage. Clip trays for action items, a stand for your iPad, that stack of bills you're ignoring. The ones you need within arm's reach but don't want on the surface.
The only thing I'd skip putting in there is heavy stuff. Slats are wooden, not steel. A heavy binder can warp a shelf if you're not careful.
Watch the Hardware
The brass handles on mine are solid but the screws were pre-installed loose. I tightened them twice in week one. Check drawer pulls, stops, and the lock. A loose lock can ding your drawers.
Summary, Sort Of
Set the level, fix the height, align the slats. Three things. If you nail those, you'll actually like this desk.
And maybe let your back tell you before you buy a desk that's too high. I didn't. Now I need a footrest. Baba Ramdev Yoga for Desk-Bound Bodies: A 30-Minute Session That might help with the shoulder hunch.
It's the desk I still use every day. Just getting it set up right took me longer than I expected.