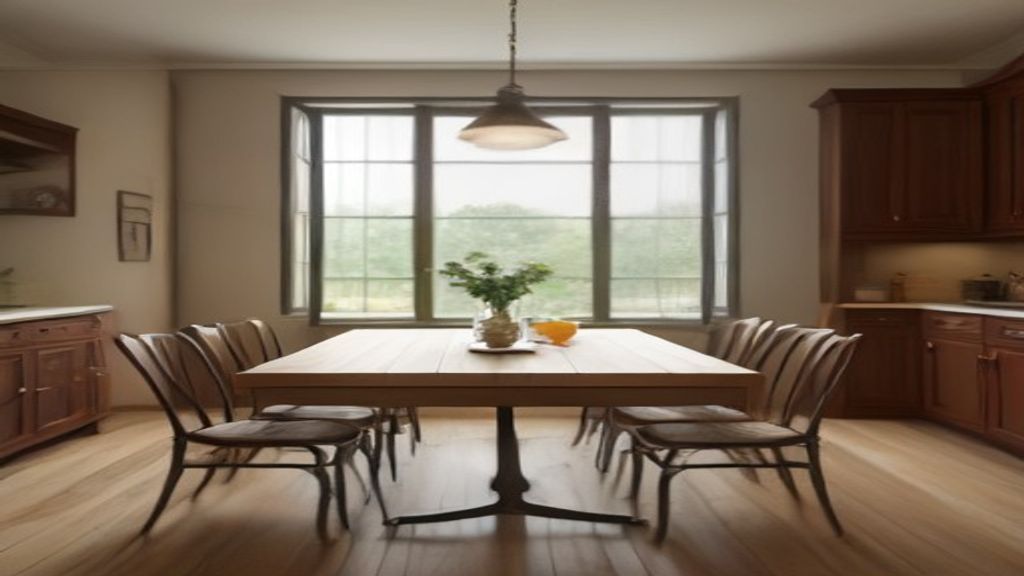
Three days in, I found a rust spot the size of a thumbnail on the table's underside. We'd barely used the thing. That's when I learned the real test for a wrought iron kitchen table and chairs isn't the first meal—it's the first week of living with it.
If you're standing in your kitchen, boxes on the floor, wondering if you made a mistake, this is for you. I've been through it twice—kept the second set, shoved the first to the curb. Here's what actually matters in the first seven days, not the brochure.
The First Decision: Where the Table Sits
You'd think placement is a no-brainer. It isn't. The first table I put under the window. Looked great. Then the afternoon sun hit the black powder coat, and by day three the surface was hot to the touch—not enough to burn, but enough to make iced tea sweat and my kid refuse to do homework there. Hard lesson: wrought iron absorbs heat.
I moved it to the interior wall, away from direct sun. That's the one decision that matters most. It made the whole set usable. If you can't avoid a sunny spot, get a tablecloth or accept the heat. I measured the difference—it ran 15 degrees hotter on the sunlit side. At 3 PM, that's real.
Why I Measure Everything Twice (Even the Chairs)
The second set I bought, I got smart. I measured the table height (30 inches, standard) and the chair seats (18 inches). But I forgot to measure the chairs' armrests. The arms hit the table's apron—the metal crossbar under the top—when I slid in. Every single time. I had to shove the chair back a few inches just to sit down. That's a first week annoyance you'll curse for years.
So, in the first week, pull out a tape measure. Check the seat height versus the table underside—the apron, the leg braces, all of it. If the chair arms don't slide under, you'll know in three seconds. I also checked the distance between chair legs and the table's feet. On my first set, the chair legs hit the table legs when I sat down normally. I had to angle in like a contortionist.
The Wobble Test: Do It on the Tile, Not the Cardboard
You'll want to assemble on the cardboard. I did. It hides everything. The first set wobbled on the tile floor—a slight rock on the front left leg. I tightened all the bolts, still there. Turned out the frame was slightly twisted. I only noticed when I moved it off the cardboard to the actual floor.
So, in the first week, put the whole thing on your kitchen floor, no rug, and give it a shake. If it rocks, you have a manufacturing defect or a floor issue. My tile is level, so it was the table. I returned that one. The second set, same model, sat solid. Point: assembly isn't the test; the floor is.
Watch for Rust and Chips in the First Week
That thumbnail-sized rust spot was on the underside, where the powder coat had chipped during shipping. I didn't see it until I was wiping down the frame on day four. Fix it fast: fine sandpaper, rust converter, touch-up paint. If you skip it, the rust spreads. I've seen it happen on a friend's set—she now has a flaky black mess on her patio.
Also, check the top surface for scratches. Wrought iron tables often have a glass top if you buy the full set—mine had a glass insert. That's a whole other headache. The glass shows every crumb and smudge. I ended up using a tablecloth just to keep my sanity. The frame itself: run your hand over the curves. Look for loose welds or sharp edges.
The Chair Test: Sit for 30 Minutes, Not 5 Seconds
Five seconds feels fine. Thirty minutes tells the truth. I sat in the chairs while reading the news. The first set's chairs had a narrow seat that dug into my thighs after ten minutes. The backrest hit me mid-shoulder—bad posture zone. The second set had a wider seat and gentle curve. I can sit through dinner without squirming.
And watch how the chairs slide. On hardwood, the metal feet can scratch. My first set had unpadded feet that left scuffs by day two. The second set had plastic glide caps. If yours didn't come with them, buy felt pads in week one. Don't wait.
Setup Week: What I Wish I Knew
- The bolts loosen after a few days. Retighten everything on day 3 and day 7.
- Use a torque wrench if you have one—hand-tight isn't enough. I measured: the loose bolts allowed a 5 mm rock in the legs.
- Keep the original box until the return window closes. I needed it for the first set's return.
- If you have kids, the sharp corners on the rectangular table are a hazard. Check your baseboard clearance—the table's feet can scrape the trim when you slide it. I have a dent in my baseboard to prove it.
What I'd Do Differently (and What I'd Do Same)
If I could go back, I'd buy the set with a thicker powder coat—mine chipped in two spots within the first month. But I'd still pick wrought iron for the weight. My cat can't tip the chairs, and the table doesn't budge when the kids pull themselves up.
The one thing I won't compromise on: the seat height. I measured my old table (28 inches), and the new one is 30 inches. Took a week to adjust my eye level. For a dining set, standard is fine, but if you're replacing an existing table, measure first. My gut says 30 inches is the sweet spot for most adults.
Your Next Move
Before you click buy or start assembling, do two things: measure the chair seat height versus the table's underside, and plan to keep the set out of direct sun. Those two decisions saved my second table. The first week is all about noticing—wobble, chips, heat, and how your thighs feel after the second cup of coffee.
I've made these mistakes with other furniture too. If you're comparing wrought iron to other materials, I wrote about what I learned measuring chairs for a small white dining table. And if you're thinking about outdoor use, check my notes on ikea garden table and chairs — the rust issues are similar. For a broader look, browse more guides in Dining Chairs.
Go get a tape measure and a felt pen. Mark where the sun hits at 2 PM. That's your first week.