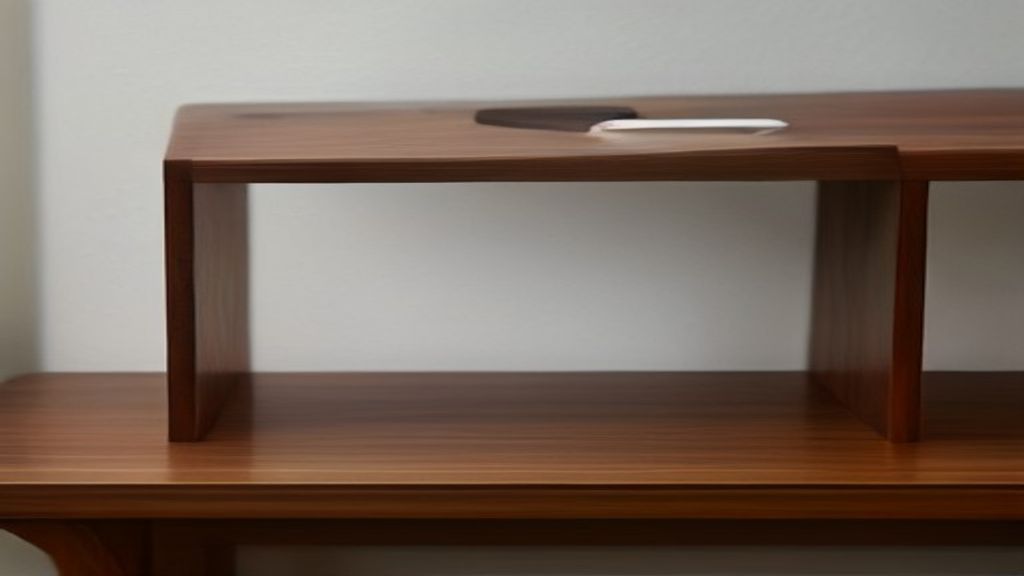
I ordered a solid walnut desk shelf thinking it would be just a place to park my monitor. First week I stacked my laptop, notebook, and a coffee mug on it. By day three the shelf sagged noticeably at the front edge—not the wood's fault, mine. The shelf was fine. The support brackets were spaced too far apart. That's the thing nobody mentions: a walnut desk shelf isn't a shelf, it's a beam. The one decision that matters is not the wood species or finish, it's the bracket span. Get that right and the rest is almost cosmetic.
Measure the bracket gap before you unpack
The walnut itself is forgiving—20 lbs of books across a 30-inch span with a center bracket? No problem. But if you rely on just two end brackets like I did, the middle drops fast. I measured mine at 0.4 inches of deflection after a week. That's enough to make your monitor wobble and your keyboard slide. The fix was swapping to a third bracket, centered. Do that the same day you assemble.
Here's what I learned measuring: the distance between brackets determines how thick the shelf must be. A 1-inch thick walnut shelf can span 24 inches between brackets without noticeable sag. Beyond that, you need 1.25 inches or more. Most commercial walnut shelves are 0.75 inches—pretty but weak. I ended up with a local mill's 1.25-inch thick slab, 60 inches long, and it's rock solid with three brackets spaced 18 inches apart.
The depth trap: shallow looks nice, deep works
A 6-inch deep shelf is fine for a phone and a pen. But the moment you place a 24-inch monitor on it, the VESA base eats half the depth. I use a 10-inch deep shelf now, and it holds a 27-inch monitor plus a small lamp without overhang. Anything shallower and the monitor's feet hang off the back—ugly and risky. Go deeper than you think. Nine or ten inches is a sweet spot for most desks.
Oil it once, but not the way the directions say
Most walnut shelves ship dry. Mine came unfinished, so I applied a coat of mineral oil. The directions said wait 24 hours, but I left it for three days because it rained. Turned out fine. One coat made the grain pop and gave a slight sheen. Avoid the glossy polyurethane—it makes the shelf look plastic and chips over time. Oil is easier to reapply when you spill coffee, which you will.
What I'd change if I did it again
I'd skip the included L-brackets and use a solid steel shelf bracket from the hardware store. The included ones were thin and flexed at the seam. Also, I'd mount the shelf lower—mine sits 2 inches above my desk surface, but for keyboard use, flush against the desk is better. You lose storage space under the shelf, but you gain a stable surface for your wrists.
The one thing I would not skip is the quarter-inch rubber pads between the brackets and the shelf. Without them, the walnut creaks when you type. With them, dead silent.
The next step: screw it to the desk, not the wall
If your desk has a ledge or a back panel, screw the shelf brackets into that instead of the wall studs. It's easier to adjust and you avoid drilling holes in new drywall. Use 1.5-inch screws, pre-drill pilot holes, and you're done in ten minutes.
Start with the bracket spacing: measure the depth of your monitor's base, add two inches, and you'll know your minimum shelf depth. Then order a walnut slab that's 1.25 inches thick, not the standard 0.75. Get that right and the first week is actually enjoyable.
More: if you're still thinking through the whole setup, check the Desk Shelf Walnut: First Week Setup and the One Decision That Actually Matters for a related first-week routine, or if your real problem is the seat, read Desk Stool: The $60 Experiment That Made Me Ditch My Chair. And if you're measuring the whole desk, this 36 Inch Desk IKEA: The Size I Got Wrong Before I Measured Right might save you a return. More in More guides in Desks.