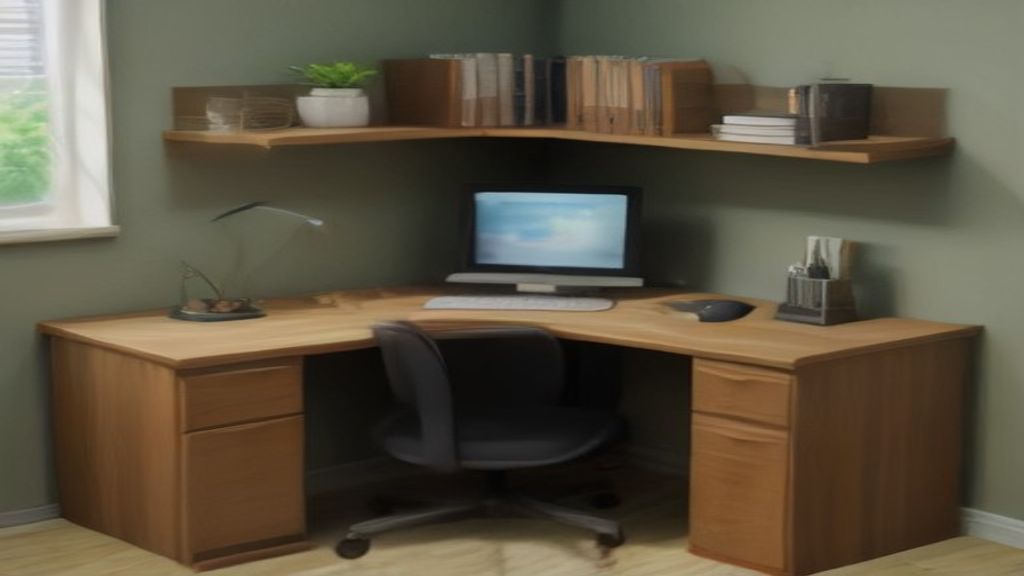
Your room is 6×7. You've got a corner, a wall, and a budget that doesn't include hiring a contractor. You started looking at freestanding corner desks, but nothing matches that awkward alcove. So you thought: build it in. Good. I did the same and I'm still using mine three years later. Here's how to not screw it up.
Start with the knee space, not the countertop
Everyone picks the top first. Don't. The real constraint is your legs and the chair. I'm 5'11" and my chair has arms that need clearance. If you tuck a chair under the desk, measure the arm width. My chair is 26" wide at the armrests. That meant the inside opening of my built-in had to be at least 28" or I'd be stuck in a side-saddle position.
For a corner desk, you have two options: a 90-degree L or a straight run along one wall with a return. I went with a straight run on the long wall (6') and a return on the short wall (3'). That gave me 30" of clear knee space on the main run. My chair fits, barely, but I've got 2" to spare.
The other measurement is depth. I used 24" deep countertop. That's standard, but here's the thing: my monitor arm clamps to the back edge, and with a 24" depth, I had enough room for the desk pad, the monitor, and a cup without it feeling cramped. If you're using a laptop only, you could drop to 20", but you'll regret it the first time you set down a plate.
Build it like it's furniture, not a shelf
The frameless look is great, but you can't just screw a countertop to the wall. I used a 2x4 frame that goes floor-to-ceiling on each side, then a 3/4" plywood top. For the corner, I cut the top at 45 degrees to meet the wall. That's the part that took five hours and a lot of cussing.
If you're not comfortable mitring corners, buy a pre-cut corner top. I know, it's more expensive, but the time you save is worth it. I didn't, and I measured wrong on the first cut. That 48"×24" piece of birch plywood cost me $60. Second one cost $52. That was my dumb tax.
Mount the top to the frame with pocket screws. Use wood glue on the mitre joint. Don't skip glue; it'll separate after a year of laptop heat and coffee spills.
The support in the corner
A normal L-shaped desk has a leg in the outside corner. You don't want that in a built-in because it interferes with the chair. Instead, I built a triangular shelf underneath to support the mitred corner. It's just a plywood triangle with a 2x4 vertical under it, attached to the wall. That gave me the support without a leg.
The downside: it's not adjustable. If you ever change your chair height or get a wider monitor, you're committed. But that's the trade-off with everything built-in. You can't just sell it on Craigslist.
Wiring, outlets, and the thing everyone forgets
Before you close up the back, run your electrical. I put a surge protector strip on the underside of the top, and I ran extension cords to the nearest outlet. That's ugly. If I did it again, I'd pay an electrician to install a floor outlet before I started. The cost was around $200. I know, I'm cheap. But I'm living with black strips taped to the wall, and it shows.
The one thing that surprised me was the monitor arm. I have a 27" monitor, and the arm's clamp is 3" deep. That ate into my 24" depth. So my actual working space is 21". Still fine, but if you have a deep monitor stand or a keyboard tray, subtract that from your depth before you build.
Paint, edges, and the final week
Use a good primer and paint. I used a high-gloss trim paint on the top because it wipes clean. The frame is a semi-gloss. It took three coats over two days. The drawer fronts? I didn't build any. I bought a set of plastic bins and shoved them on the shelf below. Honest, it looks fine.
The last thing is the front edge. I used a banded edge on the plywood — that metal J-channel stuff. It's cheap, but the ends can catch your forearm. Sand them down. I didn't, and after a week I had a rash on my wrist.
The one factor that decides the buy
Before you start, measure your actual body in that actual chair. Not just the wall space. I thought I had a 6×7 corner, but once the chair was under, I had 24 inches of knee room. That's nothing. What made it work was the return on the short wall that gave me extra surface for papers and a lamp.
If you're in a smaller space than mine, consider a straight run with a separate small table for the return. That gives you the corner without cramping your legs. If you're in a larger space, add a filing cabinet underneath, but measure the opening first.
I'm still happy with mine. The built-in makes the room look done. But every time I look at the bad mitre, I think about the $120 I spent on that second sheet of plywood. That's the real cost of a built-in corner desk: either your time or your tolerance for patching mistakes.
For more on desk setups, check out the more guides in Desks section. If you're torn between a corner and a straight desk, read this one on Stand Up Desks for Home: Measure Your Room Before You Shop — the measurement advice applies just as much here.